AI Product Photo Editing: Remove Backgrounds and Improve Photos Without Changing the Product
How to use AI photo editing in your store: background removal, erasing stray objects and improving image quality, when generated backgrounds can hurt you, and practical steps from phone photo to store photo.
Wasef Team

You've photographed your product on your phone, and the photo is sharp, but behind it there's the kitchen table and the edge of the sofa. A few years ago the fix was sending it to a designer or reshooting. Today you can fix it yourself in a minute: remove the background, add a white one, erase a stray object and correct the lighting.
AI photo editing is now built into your phone and into plenty of free tools. But there's a line you need to watch: there's a difference between cleaning up a photo and changing the product. The first helps you sell. The second comes back to you as returns and bad reviews.
In this article we'll go through what AI can do for your product photos, which tools to start with, and where to stop.
What can AI do for your product photos?
Most AI photo editing tools revolve around five tasks:
- Background removal: separates the product from everything around it and gives you an image with a transparent or white background.
- Erasing stray objects: a visible cable, a mark on the table, a hand at the edge of the frame.
- Improving image quality: correcting lighting and contrast, and reducing noise in photos taken in poor light.
- Upscaling: increasing the resolution of a small image so it looks sharper when zoomed in.
- Generating a background or scene: placing the product on marble, next to a coffee cup or in a living room, without ever photographing that scene.
The first four are usually safe if you use them sensibly. The fifth is the one that needs care, and we'll come back to it below.
Background removal: where do you start?
Background removal is the edit store owners need most, because the main product image is usually on a white or plain background. You have plenty of options, most of them free or with a free version:
- Straight from your phone: on an iPhone you can touch and hold the product in a photo in the Photos app, and it lifts away from the background so you can copy or share it. On Android, apps like Google Photos have AI editing tools, and what's available depends on your device and subscription.
- Adobe Express: has a free background removal tool in the browser and the app.
- remove.bg: a site dedicated to background removal. The free version gives you a low-resolution image, and full resolution needs paid credits.
- Canva: its background remover is part of the paid plan (Pro), but if you already pay for it for your designs, you can use it.
Prices and free limits change often, so check each tool's current plan before you rely on it for all your products.
Watch the resolution after removing the background
Some free tools give you the result at a lower resolution than your original photo. You might not notice on a phone screen, but when a customer zooms in on the product page, the edges look jagged and the details look smudged. After you download the image, check its dimensions in pixels and compare them with the original.
Check the edges before you accept the result
AI struggles with three kinds of product:
- Glass and transparent products: like perfume bottles. The tool may remove part of the bottle with the background, or leave traces of the background inside it.
- Soft edges: fur, tassels, lace, the edges of a scarf.
- Products close in colour to the background: a white abaya (a long, loose robe) against a white wall, for example.
Zoom in on the edges before you upload. If the tool has cut off part of the product, reshoot on a background whose colour is different from the product, because that makes separation much easier.
Improving image quality: what to fix and what to leave
Image enhancement tools can rescue a photo taken in poor light or one that came out dull. Use them for:
- Correcting the exposure when the photo is too dark.
- Correcting the white balance when the white background looks yellowish or bluish.
- Reducing noise (grain) in night-time photos.
- Upscaling a small image you got from your supplier, as long as you check the result.
But watch for one thing: upscaling and enhancement tools sometimes "invent" details that weren't there. A fabric pattern becomes sharper than in real life, or the lettering on a box changes. Compare the enhanced image with the real product, not just with the original photo.
Generated backgrounds and scenes: when do they help and when do they hurt?
Generating a whole scene around your product is tempting: you photograph a coffee bag on a white table, and the tool puts it on a wooden table next to a dallah (Arabic coffee pot) and cups. This kind of image can be useful as an extra photo that shows the product's mood, as long as:
- The product itself doesn't change: its colour, shape, size and the text on it.
- The scale makes sense: the tool may make a 10 ml perfume bottle look like a 100 ml one next to the objects around it. Customers judge size from the scene.
- Nothing suggests it comes with the product: if the scene has cups next to the coffee and the cups aren't part of the order, make that clear in the description or choose a scene that won't confuse customers.
- The main image stays a real photo: make the first image customers see the product itself, and keep generated images as extras.
And there's a legal reason too: Saudi Arabia's E-Commerce Law prohibits electronic advertising that contains a false offer or claim or misleads the consumer. Your product photo is part of what you present to the customer. So if the image suggests a colour, size or material that isn't real, the problem is bigger than a single return.
What if you sell on Google Shopping?
If you upload your products to Google Merchant Center to appear in Google Shopping, Google requires images created with generative AI to carry metadata showing they were AI-generated. Its image requirements page also asks that images accurately reflect the product's colour, pattern and material, and it prohibits promotional text and watermarks over the image. Check both pages in the sources below if this applies to you.
A practical workflow: from phone photo to store photo
If you want steps to follow for each product:
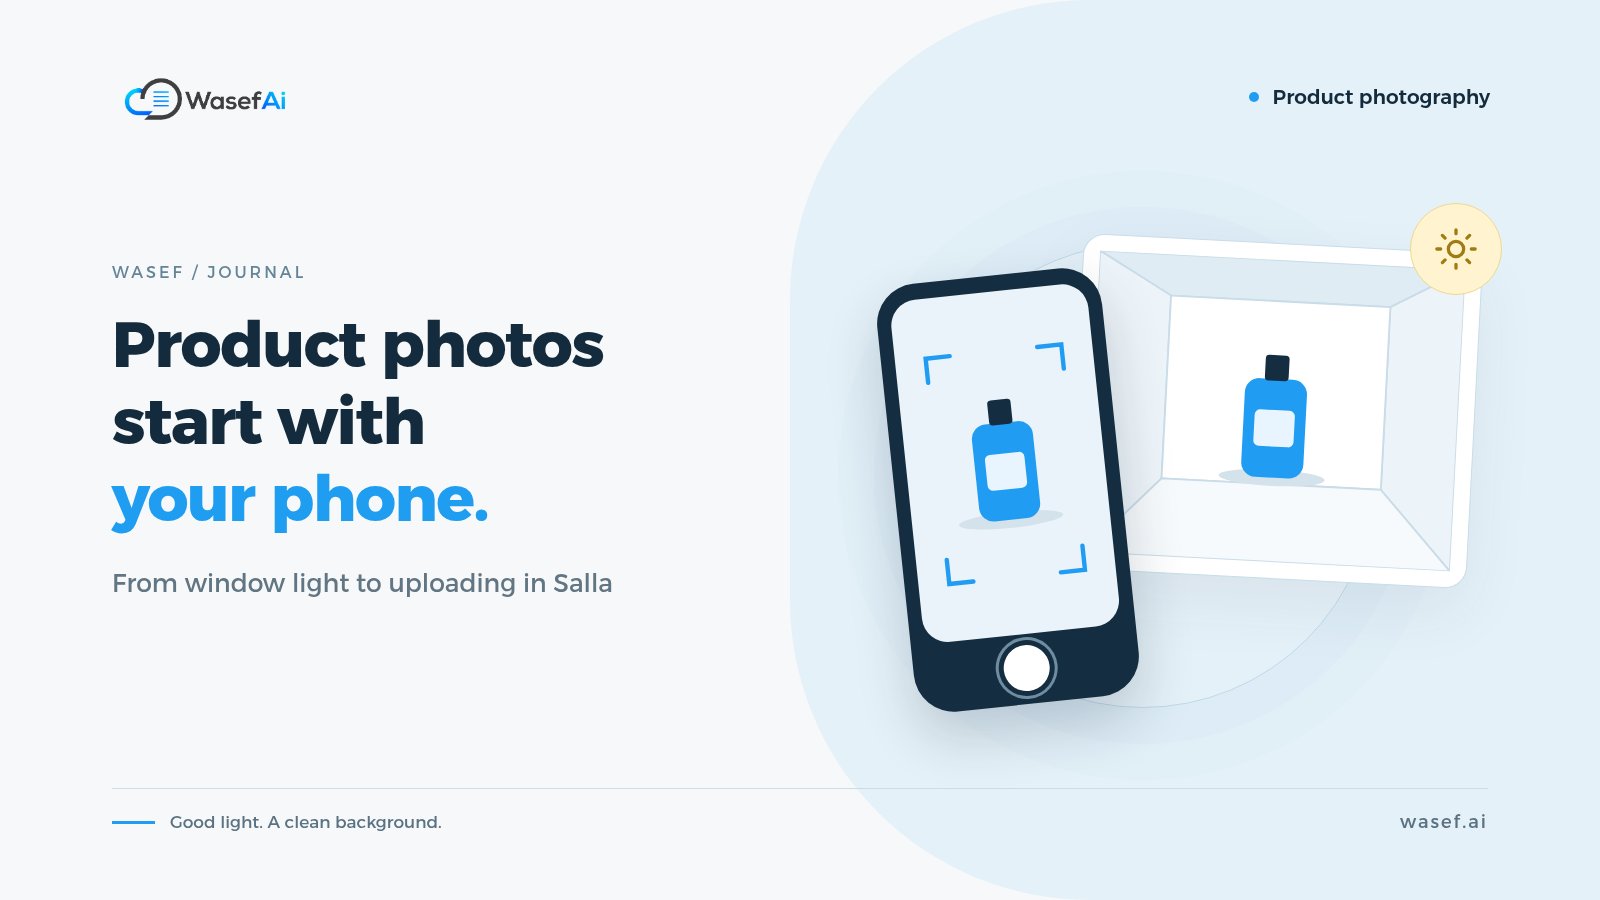
- Shoot it right from the start: window light, a plain background in a colour different from the product, and a steady phone. AI improves a good photo, but it can't make a good photo out of a bad one. Our guide to product photography with your phone has all the details.
- Remove the background with one of the tools above, and add a white background for the main image.
- Erase stray objects and marks, without touching the product itself.
- Correct the lighting and colours and compare the colour with the real product in daylight.
- Zoom in on the edges and details and make sure nothing has been cut off or added.
- Keep size and spacing consistent across photos in the same category, so your pages look tidy.
- Keep a copy of the original photo in case you need to go back to it.
The photo earns the click; the description closes the sale
A clean photo on a white background makes customers stop at your product. But then they read: What size is it? What's it made of? What's in the box? If the description doesn't answer, a nice photo on its own isn't enough.
This is where AI helps with writing too, as long as you give it accurate data. See how to write a prompt for product descriptions that gets you usable copy. And if you have a lot of products, Wasef drafts the description and SEO fields from each product's data in your Salla store, without inventing specs that aren't there, and you review them before publishing.
Sources
- Apple iPhone User Guide: lift a subject from the photo background
- Adobe Express: background remover
- remove.bg: is remove.bg free?
- Google blog: AI photo editing tools in Google Photos
- Google Merchant Center Help: AI-generated content
- Google Merchant Center Help: product image requirements
- E-Commerce Law, Bureau of Experts at the Council of Ministers (Arabic)
Tags
Before your next campaign, review your product pages with this checklist
Five steps on one page: what to check in your descriptions, how to fill in the SEO fields, and when to add a promotional title. Print it and work through it product by product.
Product page prep checklist
Ready before your next campaign
- Pick the products that will carry the season
- Review every page on mobile
- Fill in the SEO fields in product settings
- Promotional title: honest and temporary
- Spread the work over six weeks